KIDS PLAY TABLE REFINISHED


I tackled this project for one reason, I could NOT part with this table. Every chip, ding, scratch, and mark came from 12 years of wear and tear, and all at my children's hands. Dinosaur habitats, car collisions, barbie salon, crafts- you name it, this table has seen it. Looking for a way to incorporate it into our newly renovated playroom....I decided to refinish it. The table came out absolutely gorgeous. The project definitely required patience...and time. I would say it took about a week, working a few hours each day.
Tools/Supplies Needed:

- Saran Wrap
- Coarse Sand Paper & Medium/Fine Sand Paper
- Plastic Tarp or Floor Covering
- Paper towels
- Minwax Stain Wipes (I used 2 packages)
- Paint brush to apply the citristrip
- Brillo Pad
- Old rags
The Process:
1. Before starting, place your furniture on top of a tarp or plastic floor covering. Cover the table in a generous coat of Citristrip using the paint brush. Be sure to get in all the grooves. Cover the treated area with saran wrap and allow to sit over night or several hours.
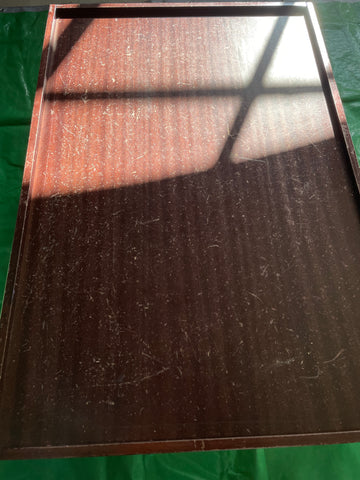

2. Remove the saran wrap and use the metal scraper to scrape off the Citristrip. Wipe the scraper with the paper towel in between scrapes. This will be sticky and frosting-like in texture. Continue until all the goo has been removed.
3. Use a brillo pad to briefly rub off any remaining residue.
4. Now you are ready to prep the wood for sanding. Using an old rag. Apply the Mineral Spirits directly to the rag and wipe the table.

5. Time for that elbow grease. Let's get to sanding. I found that the hand held sand paper holder worked best in combination with using the sand paper in strips independently. You can use an electric sander, however, I found the free hand to work much more effectively. Make sure you have coarse sand paper to start. Work with the grain of the wood. Keep sanding until all the dark finish and gloss has been removed. Once the dark finish is off your furniture you may go over the wood again with the medium/fine sand paper. You should be able to get the table down to a raw wood look.

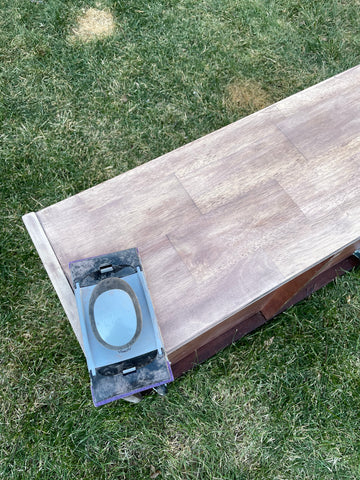
6. Once you have the desired raw finish, you need to wipe away any remaining dust or sanding particles. Use a wet rag or vacuum to help.
7. Now it's time to stain. While wearing gloves, apply the Minwax wipes directly to the table. Wiping with the grain of the wood in a continuous motion. Use an old rag to wipe away any excess stain. Continue until the table has the been covered with one layer of stain (this whole process took approximately 20 minutes). If you desire a darker finish, allow the table to dry for several hours before applying a second layer.

8. Lastly, seal the table. Using a rag wipe the table with the Minwax Poly Seal. Allow to dry a few hours before using the furniture.

That's all! I hope your project goes smooth.
Feel free to message me with any questions at info@inspoandivy.com and please tag me on instagram or facebook (@inspoandivy)
I would love to see your project
-Alissa